My Nails Are Breaking Despite Gel – What Am I Doing Wrong? 9 Common Causes and Quick Fixes
The nails are breaking despite the gel more often than many people assume. Usually, it's not about "the gel is weak," but about tile preparation, product selection and construction technique.
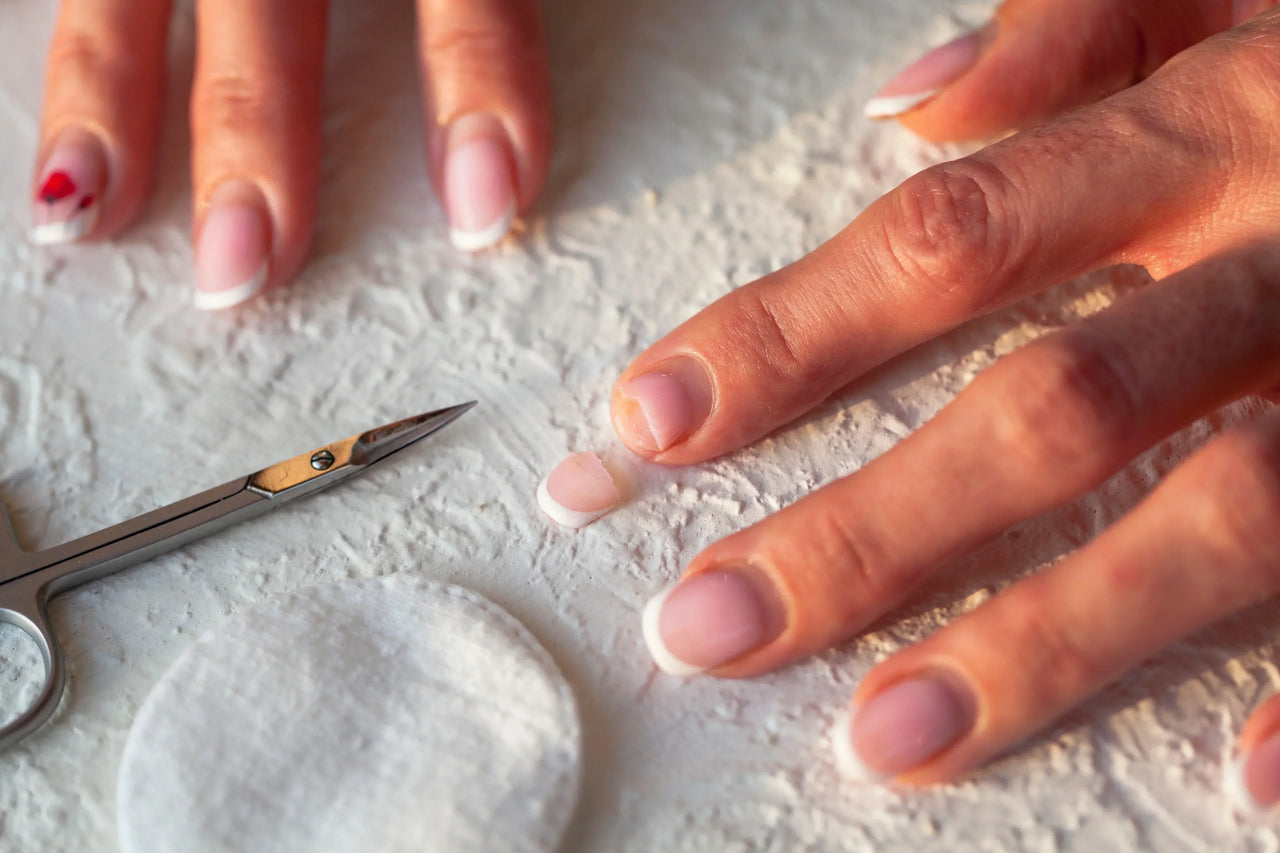
Symptoms can be similar. A crack, break, chip, or the styling may come off along with a fragment of the natural nail plate.
Sound familiar? Don't worry. In most cases, the cause can be pinpointed and the entire process quickly corrected.

First, one important thing: what actually "breaks" - the gel or the natural nail?
Many people say "my nails are breaking," but in practice these are two different problems.
- the mass (gel/top) cracks under stress → usually a problem with the architecture (apex), thickness or curing,
- the natural nail plate breaks under the styling → often the result of filing, poor cuticle work or overloading the nails in everyday activities.
This is an important distinction. Repairing a cracked mass is different from repairing the weakened plate underneath.
If you are wondering, why do nails break, check this point first.
Quick self-diagnosis: where do nails break and crack?
- Crack in the center of the plate (stress line)
Most common: no apex, too thin in stress, wrong material for length. - Fracture at the free edge
Most often: too thin free edge, unclosed edge with a top, too long styling for the lifestyle. - Loosening from the cuticles + then cracking
Most common: flooded cuticles, dust/skin left on the ridges, incorrectly applied base. - Air pockets and cracking after a few days
Most common: inaccurate degreasing/dehydration, touching the plate with fingers after preparation.
This quick observation reveals a lot. The location of the damage usually reveals where the process needs improvement.

9 Reasons Why Nails Break Despite Gel (And What to Do About It)
1) Filed nail plate - the gel holds, but the nail underneath weakens
This is one of the most common culprits. Too much mattification causes the nail plate to become thin, flexible, and less resistant to pressure.
This makes the nails break more easily, even if the design itself looks good. The material simply lacks a stable support.
TIP: Matting should be gentle, without "pitting" and without overheating, and the epithelium near the folds should be removed thoroughly, but without aggression. If you want to make it easier to work on the cuticles without pulling, softening preparations such as Cuticle Remover.
2) You leave dust or epithelium - and this acts as a "separator"
Even a very good gel will not stick permanently to the nail plate if there is dust or a thin layer of epithelium left on the surface.
This is a common detail that causes nails to break or start to loosen after a few days.
TIP: After working on the plate, always remove the dust thoroughly and perform a thorough prep in two steps: cleaning + dehydration.
3) You skip degreasing and dehydration or you take shortcuts
There are no shortcuts here. The tile must be clean and dry before applying subsequent products.
If moisture or sebum remains, the product begins to loosen. The styling then cracks and the edges wear out more quickly.
TIP:
- For cleaning/degreasing: Cleaner Extra Clean (stage before product application)
- For dehydration (dehydrator): Cleaner UltraBond — removes moisture and sebum, increases adhesion and does not require curing in a lamp
And important: after the dehydrator, do not touch the plate with your fingers.
4) The primer is incorrectly selected or applied in the wrong place
Primer is meant to help, not harm. Applying it too thickly or on the cuticles can increase the risk of lifting.
This then affects the durability of the entire design. As a result, the nails break more quickly because the structure loses support at the base.
TIP: Apply thinly and in dots, only to the natural nail plate, avoiding the cuticles. Choose a nail primer:
- Acid-Free Primer – more delicate, recommended for normal and sensitive nails, leaves a sticky layer after drying
- For problematic nails with a tendency to loosen, consider stronger options such as Acid Primer or "reinforced" Primer Vital Pro
5) The gel base is too thick or "laid down" instead of rubbed in
In gel styling, the base coat is not meant to create a heavy layer. Its role is binder between the plate and the gel.
If the base is too thick, the product may not work evenly, which can cause the style to break or flake off more quickly.
TIP: Apply the base coat thinly, "rubbing it in". If you want maximum adhesion: Base Gel (compared to a very strong "double-sided tape"). If you work with sensitive/allergic clients: we offer bases from the line Allergy Safe (without HEMA/HPMA/TPO).
6) Incorrectly selected material: too hard or too soft for your nails and lifestyle
The natural nail plate is constantly in motion. The material should also be adapted to its elasticity and styling duration.
If it's too hard or too soft, stress builds up. This is when nails break under stress or at the free edge.
TIP: Choose gels with appropriate elasticity. Modena Nails building gels They are designed to balance the durability and performance of the natural nail – self-leveling variants are particularly recommended as they minimise stress.
7) The correct architecture (apex) is missing - the styling is "nice", but mechanically weak
This is a classic problem. The styling looks even, but it's too flat and doesn't distribute the force properly.
This arrangement places greater strain on the material and nail plate. It's no wonder that nails break despite the seemingly aesthetically pleasing result.
TIP: Build the structure: apex (stress point) + correct thickness at the free edge + side symmetry. With self-leveling gels, it helps to turn your hand for a few seconds to check the light reflection before curing.
8) Too thick layers and curing errors
One thick "ball" of gel is a common mistake. The product may not polymerize evenly throughout its entire thickness.
The risk of heat spikes also increases. If the layers are poorly distributed, the material will crack more quickly and be less able to withstand everyday stresses.
TIP: Build in stages (slip + top-up), sticking to the manufacturer's recommendations for the specific product and lamp. If the client experiences severe burning/pain, this shouldn't be the norm: check the layer thickness, nail condition, and lamp compatibility.
9) Improper closing of the styling with a top coat (or lack of securing the free edge)
Even a well-built style can “open” if the free edge is not properly secured.
This causes the tip to wear out, chip, and break more quickly. This is a minor step, but it has a significant impact on durability.
TIP: Apply the top coat thinly and evenly, sealing the free edge. Recommended: Non Wipe Top Gel.
Repair plan: a checklist for permanent gel styling
If you want to improve durability quickly, go through this order without skipping steps.
- manicure + removal of epithelium, gentle matting
- Cleaner Extra Clean (cleaning/degreasing)
- Cleaner UltraBond (dehydrator - moisture/sebum out)
- primer selected for the nail type (e.g. Acid-Free Primer)
- a thin layer of base (e.g. Base Gel)
- gel construction with architecture (slip layer + add-on, apex)
- correct curing (without "pouring" the mass)
- top and closing the free edge (e.g. Non Wipe Top Gel)
- Finally, cuticle care (oil/cream)
This sequence helps reduce errors, making it less likely that your nails will break after just a few days.
Summary
The nails are breaking Despite the gel, it's not because the gel itself is weak. Most often, the problem occurs earlier, during preparation, application, or construction.
Common causes include a sawn tile, missed prep, missing apex, and incorrectly selected material. Sometimes, several small errors stack on top of each other.
Remember: lasting styling is the sum of small, consistent steps. If you improve these 9 points, the risk of your nails breaking again will significantly decrease.


